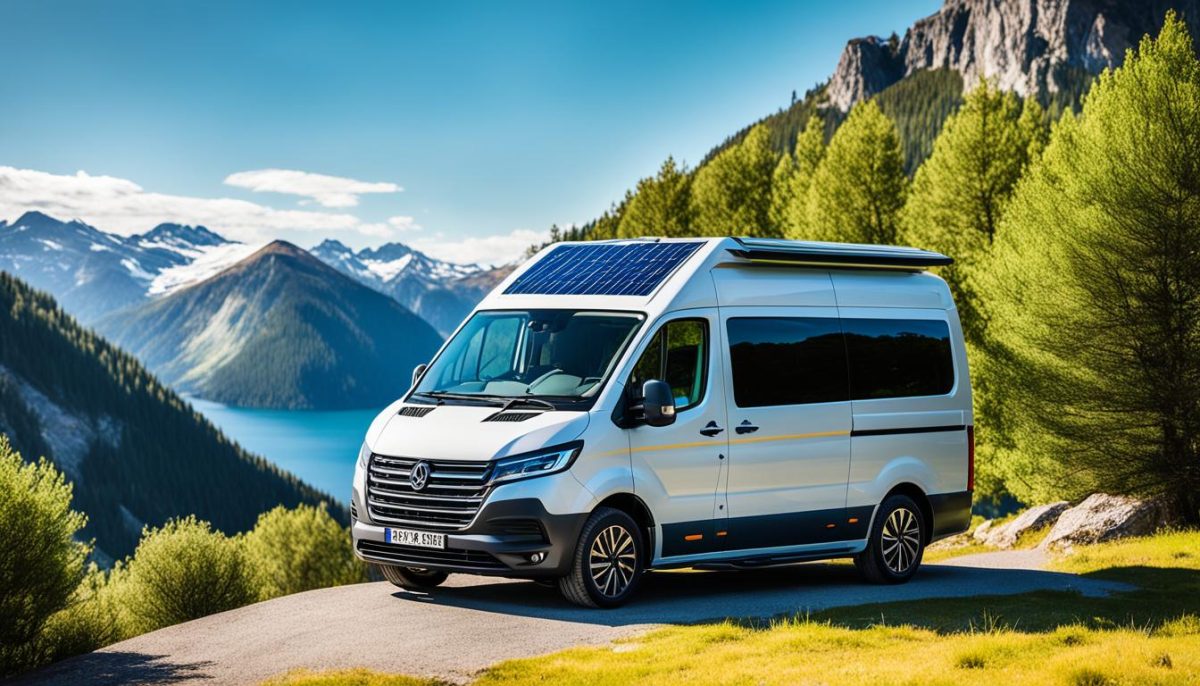
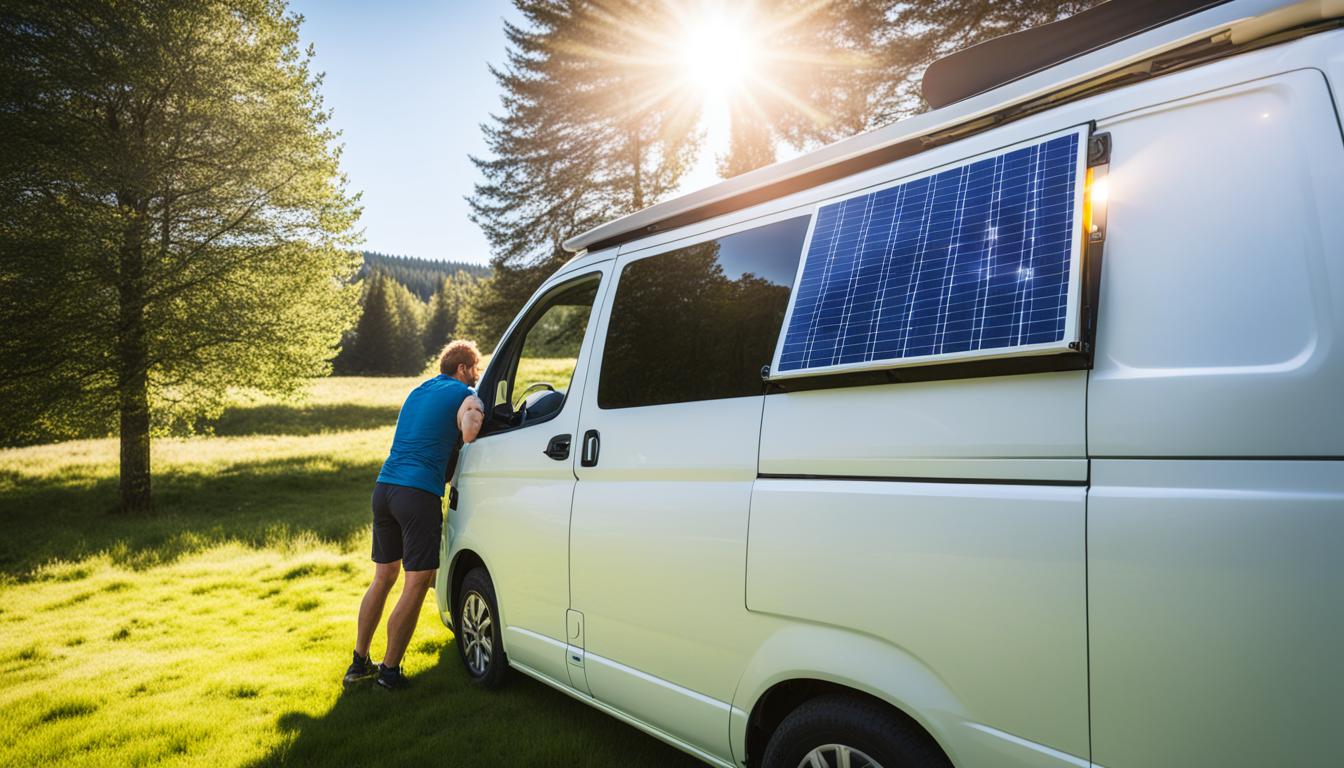
Welcome to our comprehensive guide on how to fit a solar panel to your campervan. If you’re an avid adventurer and love hitting the open road in your campervan, harnessing solar energy can greatly enhance your off-grid experiences. Imagine having a reliable source of power that allows you to charge your devices, run appliances, and enjoy the convenience of electricity no matter where you are.
By fitting a solar panel to your campervan, you can take control of your power supply and reduce your reliance on traditional energy sources. Not only will you save money on fuel and hookup fees, but you’ll also have the freedom to camp in remote locations without sacrificing your comfort or convenience.
In this guide, we’ll cover everything you need to know about installing a solar panel system on your campervan. From understanding the basics of solar panel systems to selecting the right panel for your needs, and even the step-by-step installation process, we’ve got you covered.
So, if you’re ready to upgrade your campervan and embrace sustainable energy, let’s dive into the world of solar power and discover how to fit a solar panel to your campervan.
Understanding Solar Panel Systems for Campervans
When it comes to powering your campervan with sustainable energy, solar panel systems offer a reliable and eco-friendly solution. In this section, we will explore the basics of solar panel systems specifically designed for campervans, highlighting the key components and their functions.
Solar Panels: At the core of any solar panel system are the solar panels themselves. These panels are made up of photovoltaic cells that convert sunlight into electrical energy. They are typically mounted on the roof of the campervan to maximize sun exposure.
Charge Controllers: To ensure the solar panels charge the campervan’s batteries efficiently and prevent overcharging, a charge controller is used. This device regulates the amount of power flowing from the solar panels to the batteries, protecting them from damage and prolonging their lifespan.
Batteries: Campervans equipped with solar panel systems require batteries to store excess energy generated by the solar panels. These batteries provide a reliable power source during cloudy days or at night when the sun is not available.
Inverters: Inverters are crucial in converting the direct current (DC) energy stored in the batteries into alternating current (AC) power, which is compatible with most electrical appliances in your campervan. They allow you to use your electronic devices and appliances just as you would in a regular household.
By harnessing the power of the sun, solar panel systems for campervans enable you to enjoy off-grid adventures while being self-sufficient and environmentally-conscious. With an understanding of how the different components work together, you can make informed decisions when selecting and installing a solar panel system for your campervan.
Choosing the Right Solar Panel for Your Campervan
When it comes to fitting a solar panel to your campervan, choosing the right one is essential. The solar panel you select will determine the amount of power you can harness from the sun and ultimately, how much energy will be available for your adventures on the road.
To make an informed decision, there are several factors to consider. First and foremost, you need to assess your power requirements. Calculate the average amount of electricity you will need to power your appliances, devices, and lighting while on the road.
Next, evaluate the available space on your campervan’s roof. Measure the dimensions and ensure that there is enough space to install the solar panel securely. Keep in mind that obstructions such as roof vents or air conditioners may need to be taken into account.
Additionally, consider the efficiency of different solar panel types. Monocrystalline panels are known for their high efficiency and perform well in low-light conditions, making them a popular choice. Polycrystalline panels, on the other hand, are more affordable but slightly less efficient.
After assessing your power requirements and available space, you can then find the perfect balance between energy needs and available resources. It’s crucial to choose a solar panel that not only meets your power needs but also fits within your budget.
Comparing Solar Panel Types
| Solar Panel Type | Efficiency | Cost |
|---|---|---|
| Monocrystalline | High | Higher cost |
| Polycrystalline | Lower | Lower cost |
As you can see, monocrystalline panels offer higher efficiency but come at a higher cost. Polycrystalline panels, on the other hand, are more affordable but sacrifice some efficiency. Consider your power requirements and budget to determine which type is the best fit for your campervan.

By carefully considering these factors and comparing solar panel types, you can choose the right solar panel for your campervan. This will ensure that you have a reliable and efficient power source to support your off-grid adventures. In the next section, we’ll guide you through the installation steps to help you fit the solar panel to your campervan.
Installation Steps for Solar Panel on Your Campervan
Ready to harness the power of the sun for your campervan adventures? Follow these step-by-step installation instructions to successfully fit a solar panel to your campervan.
Step 1: Plan the Placement
Choose the optimal location on your campervan’s roof for the solar panel. Ensure it receives maximum sunlight exposure throughout the day. Consider any obstructions, such as roof vents or air conditioning units. Use a tape measure to determine the dimensions of the chosen area.
Step 2: Secure the Mounting Brackets
Attach the mounting brackets to your campervan’s roof using stainless steel screws. Make sure they are firmly secured and aligned with the dimensions of the solar panel. Double-check their stability and adjust if necessary to prevent any movement during transit.
Step 3: Connect the Wiring
Locate a suitable entry point for the solar panel wiring into your campervan. Drill a hole and use a grommet to protect the wire from rubbing against any sharp edges. Connect the positive and negative wires from the solar panel to the charge controller, ensuring correct polarity. Then, connect the charge controller to the campervan’s battery using appropriate wiring and connectors.
Step 4: Mount the Solar Panel
Carefully lift the solar panel onto the mounting brackets, ensuring it aligns perfectly. Use stainless steel bolts and washers to securely fasten the panel to the brackets. Check for any signs of movement or instability from all angles. Make any necessary adjustments to ensure a secure and stable installation.
Congratulations! You’ve successfully installed a solar panel on your campervan. Now you can enjoy the benefits of sustainable energy while exploring the great outdoors. Happy travels!


